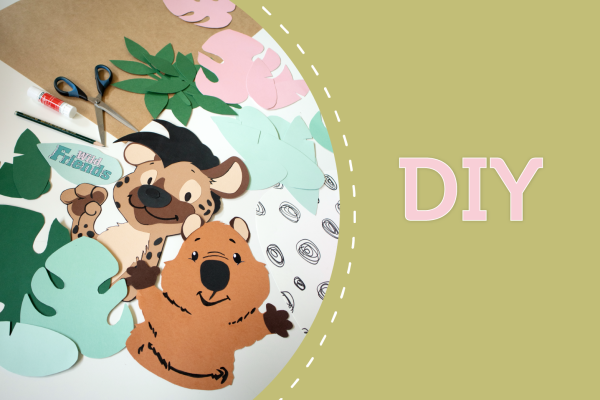
Soon, a very special day will be upon countless children - the first day of school! And what must not be missing in any case? Exactly! A bulging school cone.
To give your child something very personal to take along on the way, you can tinker a unique school cone.
With our given instructions it is a cinch!
What you need
- craft glue/ double sided tape
- scissors
- pencil
- Felt pen in black for details
- 1x school cone blank approx. 70cm high (Green at best)
- ribbon/string/cord
- Clay cardboard in different shades of green and brown, pink, beige and white
- crepe paper in pink and green
Optional
- Carbon paper/flat paper for transferring the pattern
- Felt or foam rubber
Click here for the pattern.
And this is how
Step 1: Give the blank cone a green background. Cut a semicircular triangle shape out of green clay paper and attach it to the blank. Alternatively, you can paint the blank.
You couldn't get hold of a blank in the right color? No problem! You can easily make a basic body from a sheet of clay cardboard by spreading it out on end in front of you and drawing an arc (radius = height of the clay cardboard). It is best to use a string for this. Attached to the bottom corner and a pen at the top, it works like an XXL compass. Once you have cut away the excess corner, you can roll up the paper and glue any excess material inside. This provides additional stability.
To be able to close the school cone later, attach crepe paper all around.
(If you have already bought a green blank cone, you can skip this step and go directly to step 2)

Step 2: Print out the templates. You can press the outlines onto the clay cardboard using tracing paper or cut out the template and outline it.
Step 3: Cut sheets of clay cardboard in different colors, shapes and sizes. In the template you will already find a small selection.


Step 4: You can paint the details of the animals (ears, noses, eyes..) on their basic shape or make them out of clay cardboard and glue them on for a beautiful 3D effect.
For the 3D effect:
Cut all the individual parts of Quokka Mola and put them together one after the other. Complete the fur structures with black felt-tip pen.


Repeat this step for Hyena Helgi as well.


Step 5: Grab a white sheet of paper and draw shapeless squiggles on it. Then cut this into an irregular circular shape.


Step 6: Now you can attach all the elements to the school bag one by one - it's best to work from the top (opening of the bag) to the bottom (tip of the bag). This creates a plastic jungle world. Here you will find a template as a guide.


Step 7: In order to conceal the cut of the bottom leaves nicely, you can attach a border in the form of a small school bag made of any material (same procedure as in step 1).

Step 8: Now it's finally time to fill and seal your school cone.


We wish you much fun tinkering!

